


Speaker Cabinet Grille Replacement
This project involves a Speaker Cabinet I built in the mid-80's. The cabinet was used as an additional monitor speaker for a PA amplifier.
I originally used foam speaker grille material fastened with Velcro for the front. Fast forward to now and we see the foam grille in terrible shape. Some of the adhesive side of several Velcro strips had let loose. There were also several gouges in the face of the foam.
There was enough plywood and grille cloth left over from the Fender Twin Reverb Amplifier Speaker Grille Replacement project to do the Speaker Cabinet Grille Replacement, so I decided to go for it.
If you would like to ask any questions about this project you are welcome to send an email to me!
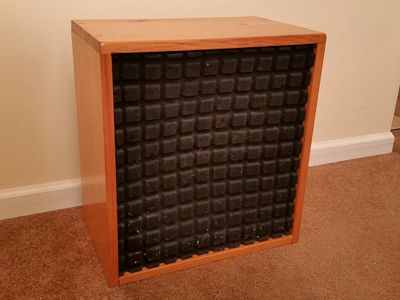
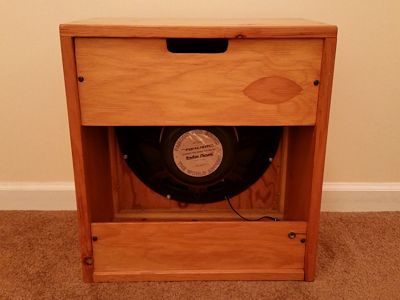
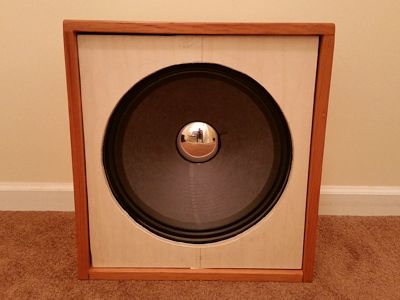
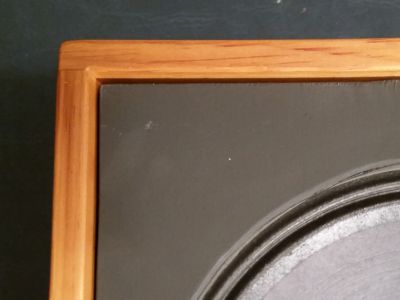
Here is a look at the Speaker Cabinet before starting. Long ago when I created the cabinet the foam grille cover looked great as it was tight. It's looking pretty sad here.
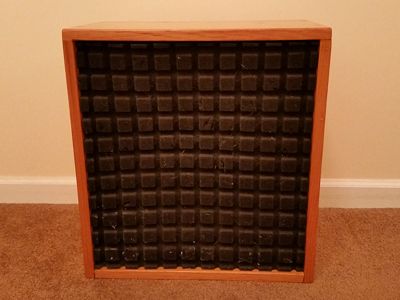
Another look at the front.
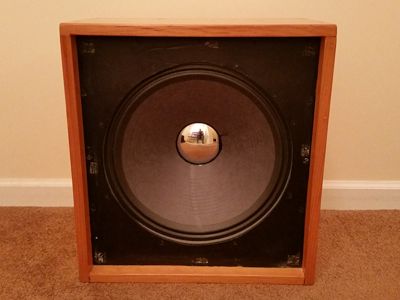
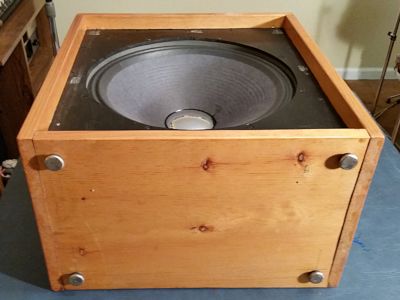
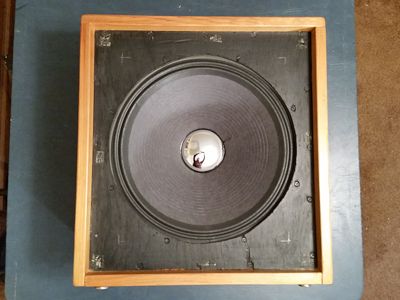
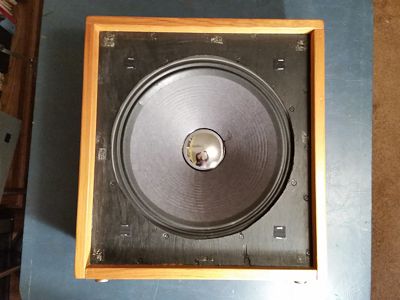
Here is a look without the foam grille cover.
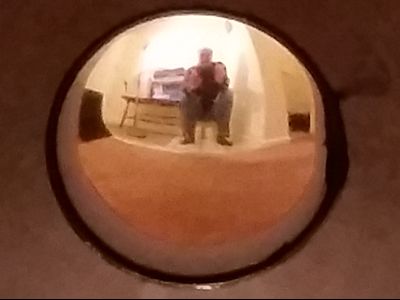
Hey, who's that guy in the speaker?
Back side of the speaker cabinet.
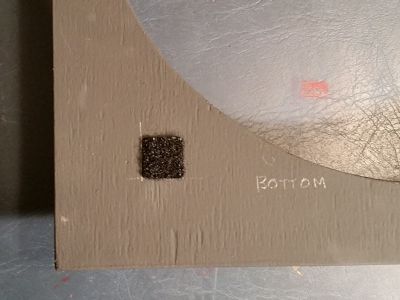
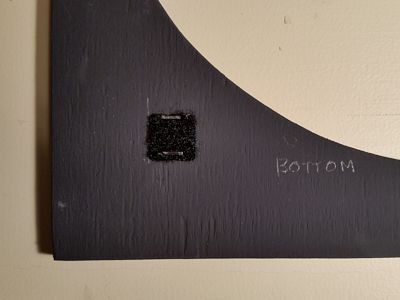
Underside of the speaker cabinet.
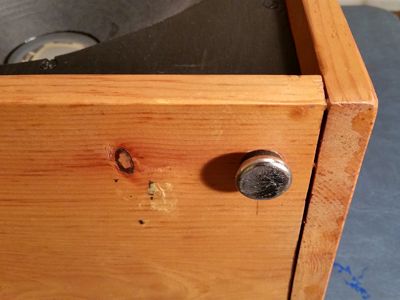
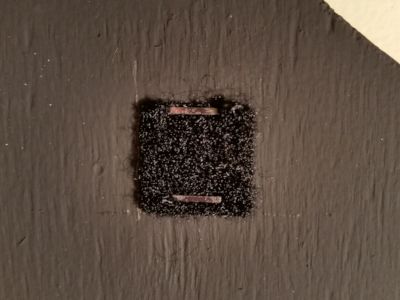
Close look at one of the feet.
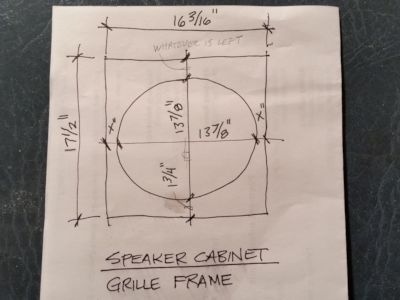
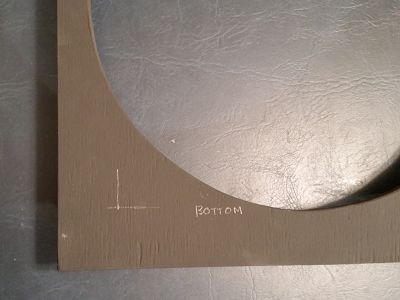
Here is the quick plan I put together for the grille frame. These dimensions are 3⁄16" shorter in height and width than the opening size of the cabinet. This will leave a little less than an ⅛" gap around the frame when done.
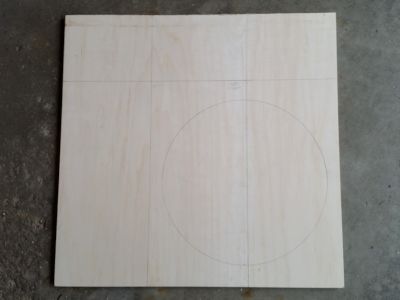
Fortunately I had enough of the smooth interior grade plywood leftover from the other project to do this project. The layout was drawn on the plywood in pencil, although it's hard to see in this picture.
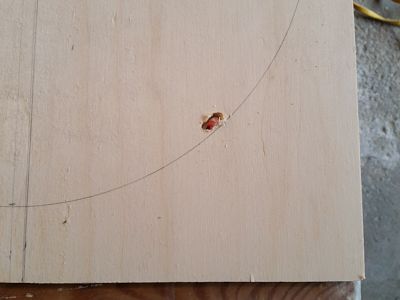
A hole was drilled in the plywood to provide a place for a sabre saw blade to start.
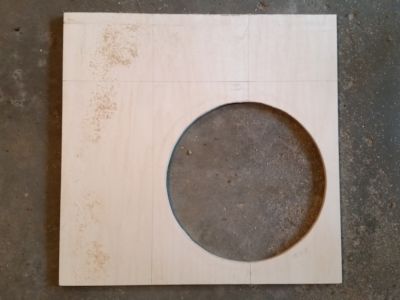
The hole for the speaker was then cut.
The perimeter of the frame was then cut.
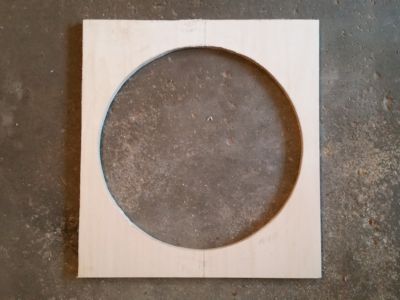
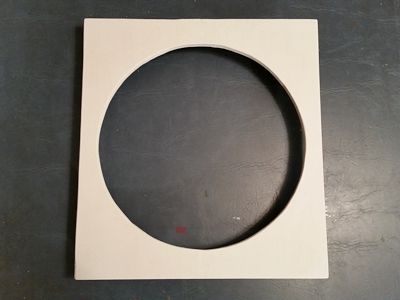
I tested the fit of the plywood frame in the cabinet.
The size of the plywood frame was intentionally cut 3⁄16" shorter in height and width than the opening size of the cabinet.
The plywood frame was sanded and one coat of white "KILZ Primer" was then painted over every surface and edge of the plywood frame. Some light sanding was done in spots after the primer was dry.
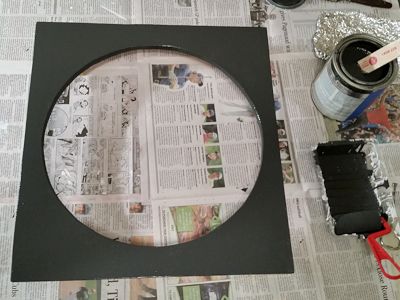
Two coats of flat black latex paint were then applied to all surfaces and edges of the frame.
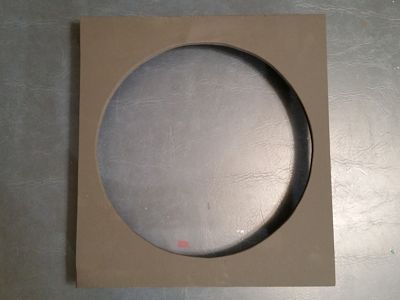
A look at the grille frame so far, and ready for the next step.
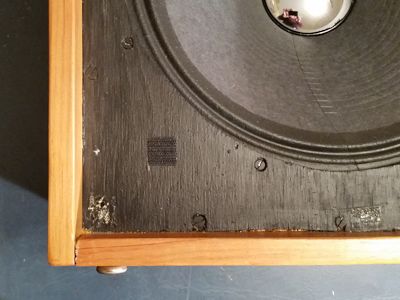
Although somewhat hard to see here, pencil marks were placed 2" from the inside corners of the cabinet. These will be used to locate the Velcro.
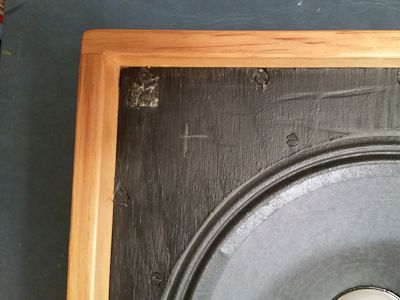
Here is a closer look at the lines.
Important Note to Myself: Make sure the backside of the grille frame is facing up for the following steps!
Lines were also marked on the grille frame, however, these were located 17⁄8" from the edges. These are ⅛" less than the cabinet lines to account for the slight gap that will exist between the grille frame and the opening of the speaker cabinet.
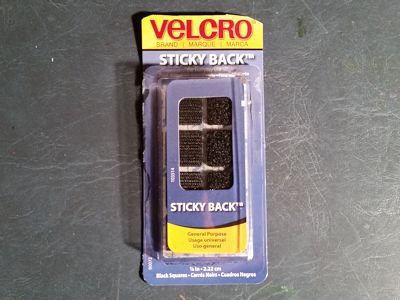
These are the Velcro units I used for this project.
Velcro units were then located where the lines were drawn.
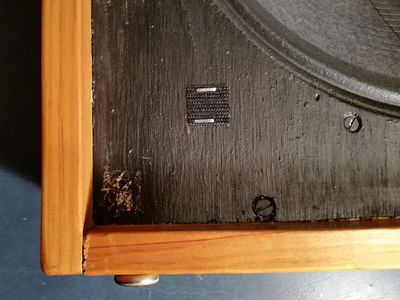
Velcro was then applied at the lines drawn on the cabinet.
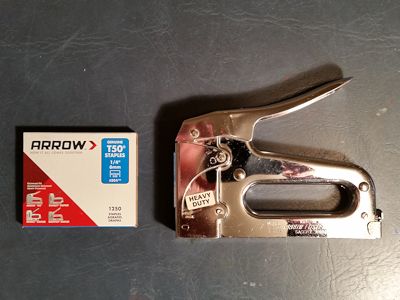
The next several steps required the ARROW T50 Staple gun with ¼" Staples.
Two staples were used in the edge of each Velcro strip in order to secure the strips to the plywood.
Sometimes things that are "self-adhesive" seem to lose their adhesion quality after years go by. If these strips lose their adhesion, there are still staples in place to keep the strips fastened.
Here is a look at all four Velcro strips stapled to the speaker cabinet.
Velcro strips on the speaker grille frame were also stapled.
Close-up of stapled Velcro.
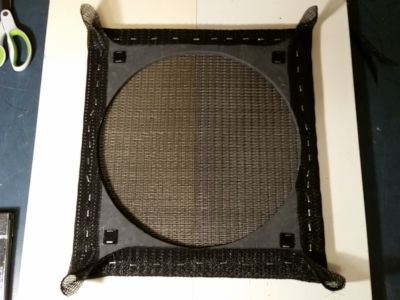
The speaker grille frame with Velcro applied was then test fitted in the speaker cabinet.
Here is a close look at one corner. Notice the intentional gap between speaker grille frame and opening of the cabinet.

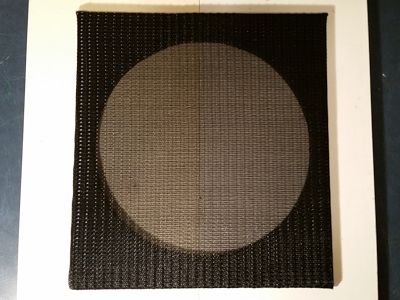
The darkest area in the diagram above represents the left over piece of the 26" x 48" Precut piece of Genuine Fender Black PVC Grille Cloth from the other project. The yellow dashed line represents the area of the piece I cut for the speaker cabinet grille frame. There is approximately 1½" of grille cloth on each side of the plywood grille frame.
This model/type of grille cloth has a slight ability to stretch in the long (roll) direction and not too much ability to stretch in the short dimension. The remnant was barely big enough for this project. I used the lines in the grille cloth as a guide for cutting in order to try and keep the corners square 90°.
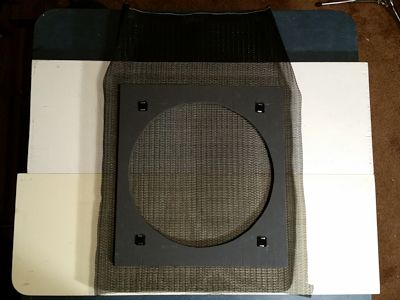
The speaker grille frame (back side facing up) was laid on the grille cloth. I was lucky the grille cloth remnant was wide enough, it was close!
The grille cloth was trimmed so there would be approximately 1½" from each edge to wrap around the frame.
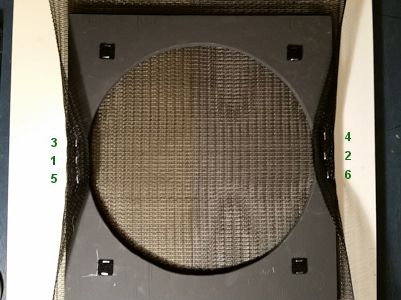
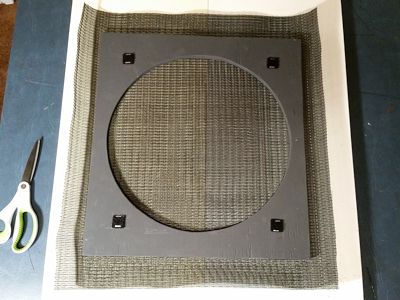
I wrapped the grille cloth around the grille frame in location 1 and stapled. I then switched to location 2, stretching the grille cloth as much as I could, and lining up the lines in the grille cloth with the edge of the grille frame so the grille cloth looks straight. I then repeated the process for locations 3 and 4, and then 5 and 6.
Staples were then applied to each side as shown above, once again alternating back and forth opposite sides, keeping the grille cloth tight and lined up, but not stapled all the way to the corners yet.
Staples were then applied to the remaining two sides, once again alternating from side to side, keeping the grille cloth tight. Staples were also applied a little closer to the corners on all sides.
There was a little overlap of the grille cloth at the hole for the speaker on both sides. The excess grille cloth was trimmed away.
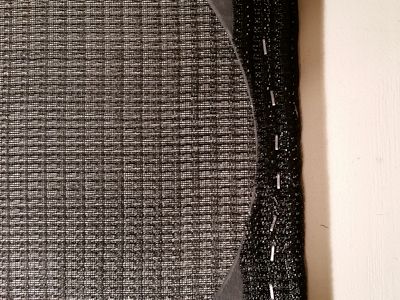
Here is a close look at the grille cloth at a corner at this point.
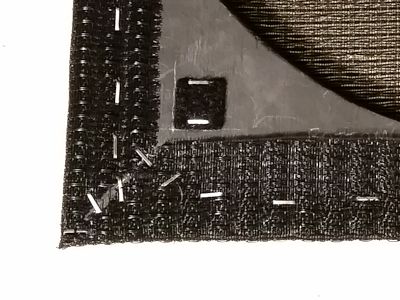
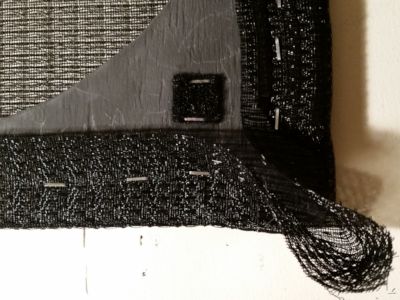
The grille cloth was trimmed at the corners at 45° angles and then stapled. The corners were a bit hard because the grille cloth I used is not very flexible. The corner shown above was my worst corner job of all four because of the unwanted gap in the grille cloth, however, I'm showing it because it shows the angle cuts pretty well.
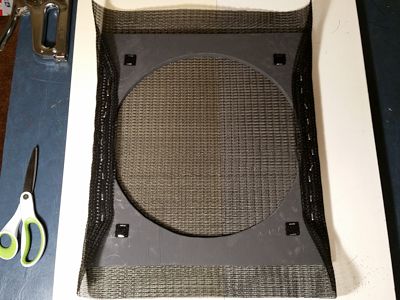
Front side of the frame with the grille cloth applied.
The finished speaker grille frame was then centered in the opening of the speaker cabinet, with a fairly consistent space around all four sides of the grille frame.
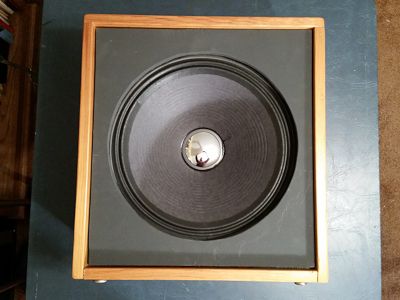
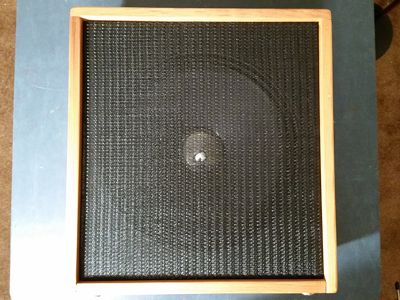
Here is a look of the finished product from the front.
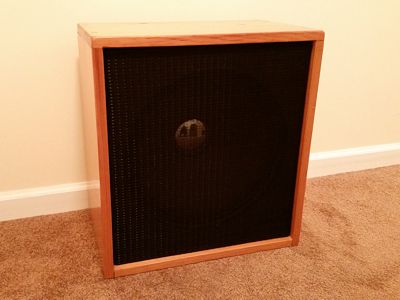
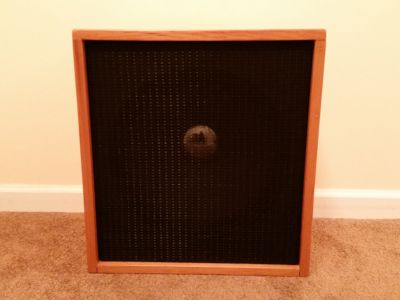
Another look at the completed project!